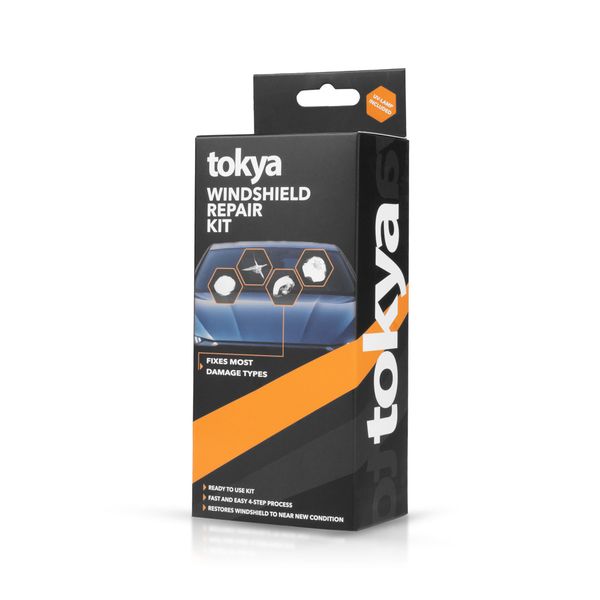
Windshield repair kit
Windshield Repair Kit
A windshield repair kit designed for repairing stone chips, small cracks and fractures, allowing anyone to repair minor windshield damage at home. The easy-to-use and quick repair kit includes everything needed for the job, plus detailed instructions for success.
The Tokya Windshield Repair Kit is a quick and easy-to-use repair kit designed for windshield repair, with which the spread of various types of impacts and cracks caused by stones and studs into a crack can be stopped. The kit restores the windshield to almost its original condition, so unsightly repair marks are avoided and the result is really neat. The pack contains everything needed for the repair, and the work is done in just four easy steps, so anyone can repair their own car's windshield even in their home yard without any previous experience! The Windshield Repair Kit gives a professional result without the experience and know-how of professionals, and in this way the windshield's service life can be extended, visibility improved and driving safety increased. Really easy!
Available from Autodude in four countries

Each store serves its own country with local delivery, prices, returns and customer service.
Specifications
| Product | Tokya Windshield Repair Kit |
|---|---|
| Intended use | Repairing stone chips in a windshield |
| Pack contains everything needed | |
| Easy and quick installation | |
| Operating temperature | +15°C - +32°C |
| Warranty | 12 months |
As declared on the Autodude product page.
Quick guide
- The ideal temperature for the repair operation is +15°C - +32°C. Make sure that the windshield temperature is within this range before starting the repair.
- 1. Clean the damaged area with the cleaning cloth supplied in the pack. Use the cleaning needle to carefully remove loose glass (any remaining glass fragments may affect the result).
- 2. Attach the stand to the windshield. Position the centre of the stand precisely over the damage and make sure the suction cups do not cover any cracks.
- 3. Screw the resin chamber into the stand. Tighten until the nozzle presses evenly against the glass, but do not overtighten.
- 4. Add 3-6 drops of repair resin to the chamber depending on the extent of the damage. If the resin leaks, turn the chamber slightly further until the leak stops. Screw the pressure plunger into the resin chamber so that the resin is pressed into the damage. Tighten almost all the way in. Check from inside the vehicle that the nozzle has opened fully. Allow the resin to soak in for 4-6 min.
- 5. Check the damage from an angle of approx. 45° and make sure no air bubbles remain in the damage. For star-type or bullseye-type damage, look straight from behind the damage. Remove the pressure plunger to release any trapped air. Turn the resin chamber and pressure plunger together half a turn anticlockwise. Remove the whole device by lifting the small handles of the suction cups. Add a drop of resin to any visible spots and cover them with the curing film. Place the film gently in position without pressure. Use a razor blade (over the film) to spread the resin and remove air bubbles. Move the vehicle directly into sunlight (approx. 15-20 min) or use a UV light (approx. 3-5 min) to cure the resin. Remove excess resin with a razor blade.
- You can find the manufacturer's instructions by clicking here (opens in a new window).
Source: Autodude quick guide on the product page.
Documents and videos
Related Tokya products
-
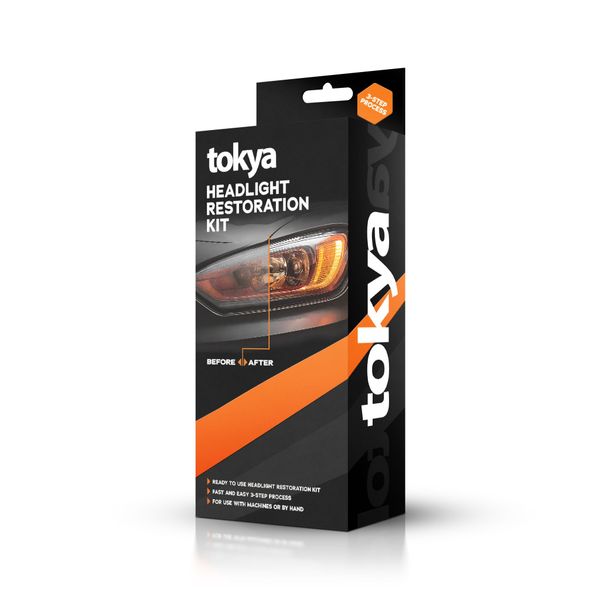
Headlight restoration kit
Headlight Restoration Kit
An easy-to-use polishing kit for plastic headlight lenses. This pack includes everything you need to sand, polish and…
-

Paint pen / touch-up pen
Scratch Repair Pen
A very easy-to-use and precise repair pen for touch-up painting of car paintwork and other painted surfaces.
-
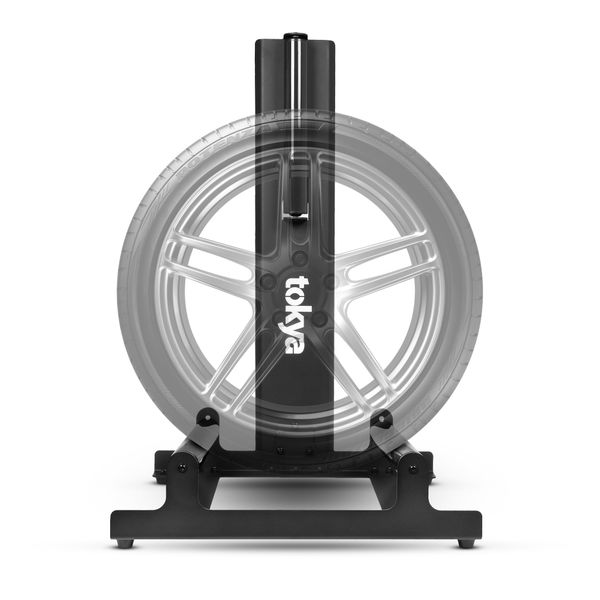
Wheel stand
Wheel Stand
A very handy and sturdy stand for washing, protecting, servicing or even painting wheels. Extra-wide rollers allow the…