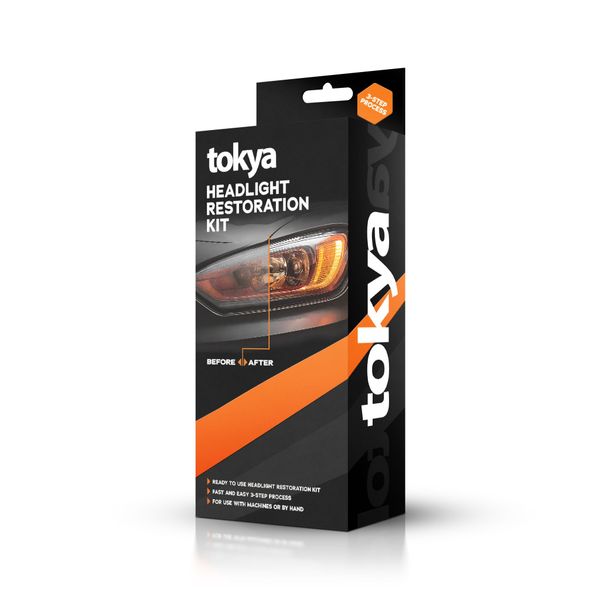
Headlight restoration kit
Headlight Restoration Kit
An easy-to-use polishing kit for plastic headlight lenses. This pack includes everything you need to sand, polish and protect the lenses, either by hand or with a machine.
The Tokya Headlight Restoration Kit is a high-quality lens polishing kit that includes everything you need to restore the original clarity of cloudy and dull headlights. This kit allows you to sand, polish and protect the lenses either by hand or with a machine, even in your own garage, so improving visibility, driving safety and the appearance of your vehicle could not be simpler! Easy-to-use products combined with clear and detailed instructions ensure that scratches and oxidation can be removed even from the worst-condition lenses, and their original clarity and shine can be restored with home methods.
Available from Autodude in four countries

Each store serves its own country with local delivery, prices, returns and customer service.
Specifications
| Product | Tokya Headlight Restoration Kit |
|---|---|
| Intended use | Polishing headlight lenses |
| Suitable for hand or machine polishing | |
| Pack contains everything needed | |
| Includes supplies for polishing and protection | |
| Coating durability | approx. 12 months |
As declared on the Autodude product page.
Variants
- 1 pc Restoration KitView at Autodude
- 2 pcs Restoration KitView at Autodude
- 1 pc Restoration Kit + Final Cleaner + Microfibre cloths (5 pcs)View at Autodude
Quick guide
- Preparation: Clean the lenses thoroughly by washing them and dry them well afterwards (you can find final cleaners here). Tape the edges of the lenses using the masking tape supplied.
- Sanding:
- Attach the backing plate to a drill or polishing machine using the adapter
- Start by using P800 sanding paper on the oxidised or scratched lens. Wet the sanding paper and the lens surface with water (it is recommended to soak the sanding paper in water for approx. 5 min before use). Sand evenly, alternating between vertical and horizontal movements, and make sure the surface being treated stays wet at all times. If you use a drill, use a low speed and monitor the surface temperature of the lens.
- Switch to finer sanding papers in the following order: P1200, P2000 and P2500, and use the same sanding technique.
- Polishing:
- First clean the lens thoroughly with water and, after drying, with the final cleaner.
- Change the wool pad onto the backing plate and apply a small amount of polishing paste to the pad. Spread the polishing paste evenly over the headlight with the pad.
- Polish the lenses with slow, even movements and use a low speed
- Switch to the foam pad for finishing. Add a small amount of polishing paste and repeat the polishing step until the lens surface is smooth, scratch-free and looks finished.
- Coating:
- Clean the surface thoroughly with the final cleaner. The surface must be completely dry and clean before applying the coating. Allow the final cleaner to evaporate for at least 30 min before applying the coating.
- Apply 5-10 drops of coating to a microfibre cloth and spread it evenly over the headlight surface with light pressure using cross-hatch movements.
- Allow the coating to dry for 3-5 min and wipe off any excess coating. Allow to dry for at least 24 h before exposure to water.
Source: Autodude quick guide on the product page.
Hazard statements
- H226 Flammable liquid and vapour.
- H304 May be fatal if swallowed and enters airways.
- H412 Harmful to aquatic life with long lasting effects.
Hazard statements as published on the Autodude product page. Read the label before use.
Documents and videos
Related Tokya products
-

Paint pen / touch-up pen
Scratch Repair Pen
A very easy-to-use and precise repair pen for touch-up painting of car paintwork and other painted surfaces.
-
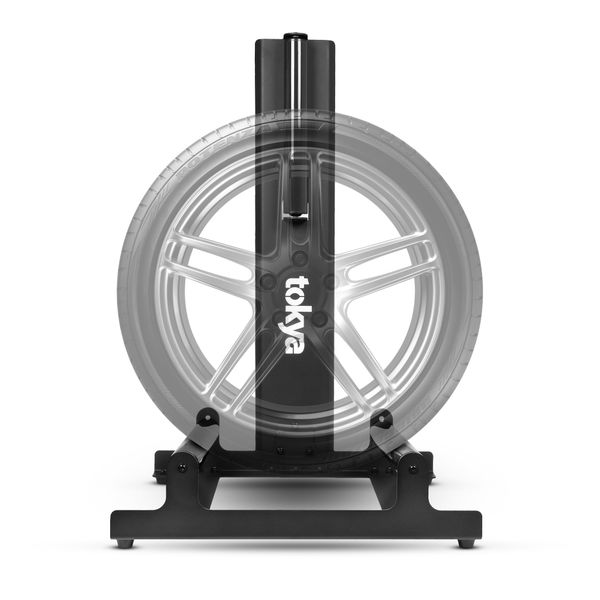
Wheel stand
Wheel Stand
A very handy and sturdy stand for washing, protecting, servicing or even painting wheels. Extra-wide rollers allow the…
-
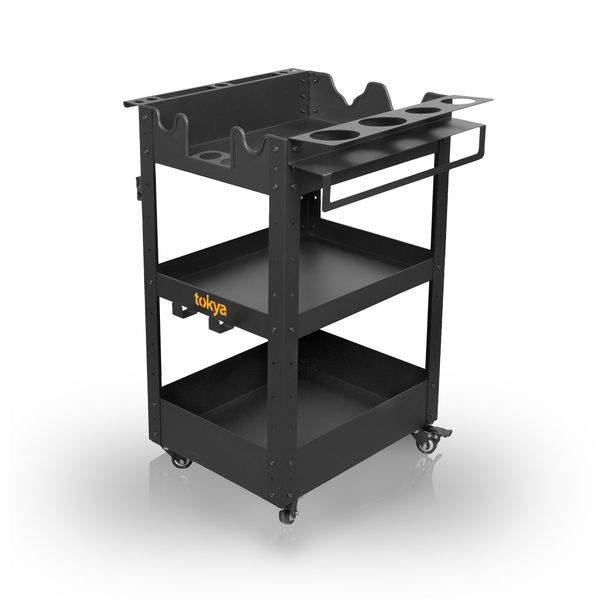
Detailing trolley
Detailing Trolley - 3 tiers
High-quality detailing trolley equipped with three shelves, four hanging points for polishing machines and several…